Octave Edgebox#
Datasheet#
The datasheet is available here: Octave_EdgeBox_Datasheet.pdf.
Supplied Parts#
| Nr. | Item | Quantity |
|---|---|---|
| 1 | Octave Edgebox Controller | 1 |
| 2 | 24V DC Supply | 1 |
| 3 | 24V DC cable (red/black) | 1 |
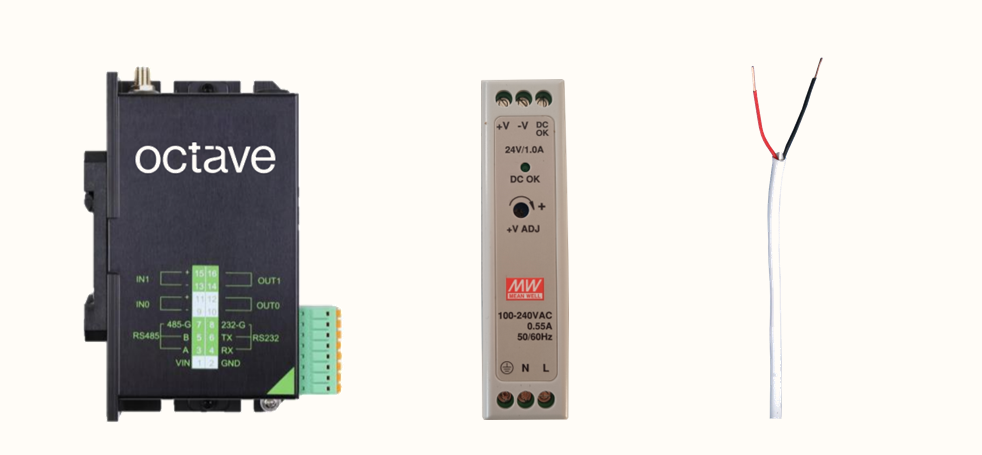
Octave Edgebox Controller (left), 24V DC Supply (center) and 24V DC cable (right)
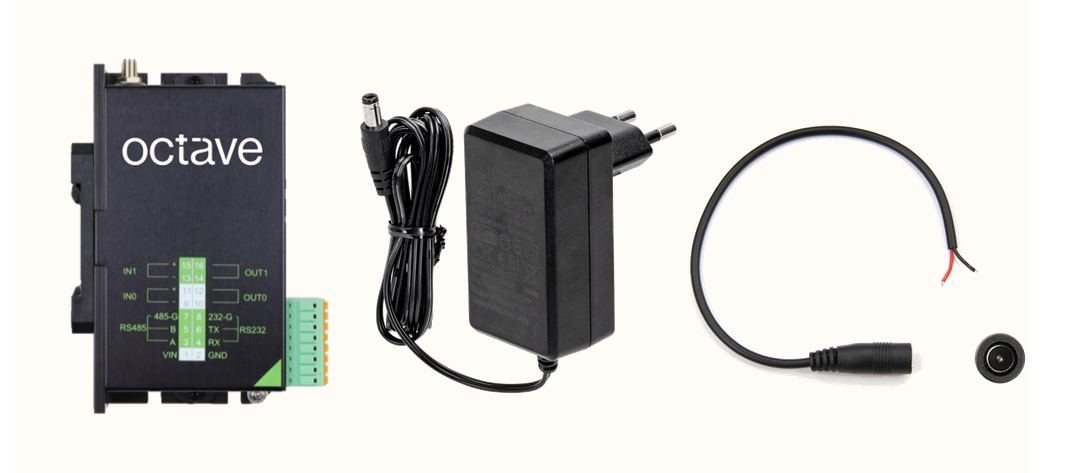
Alternatively, a 24V AC/DC adapter can be provided (center) with a Female connector (right)
Installation Schematic#
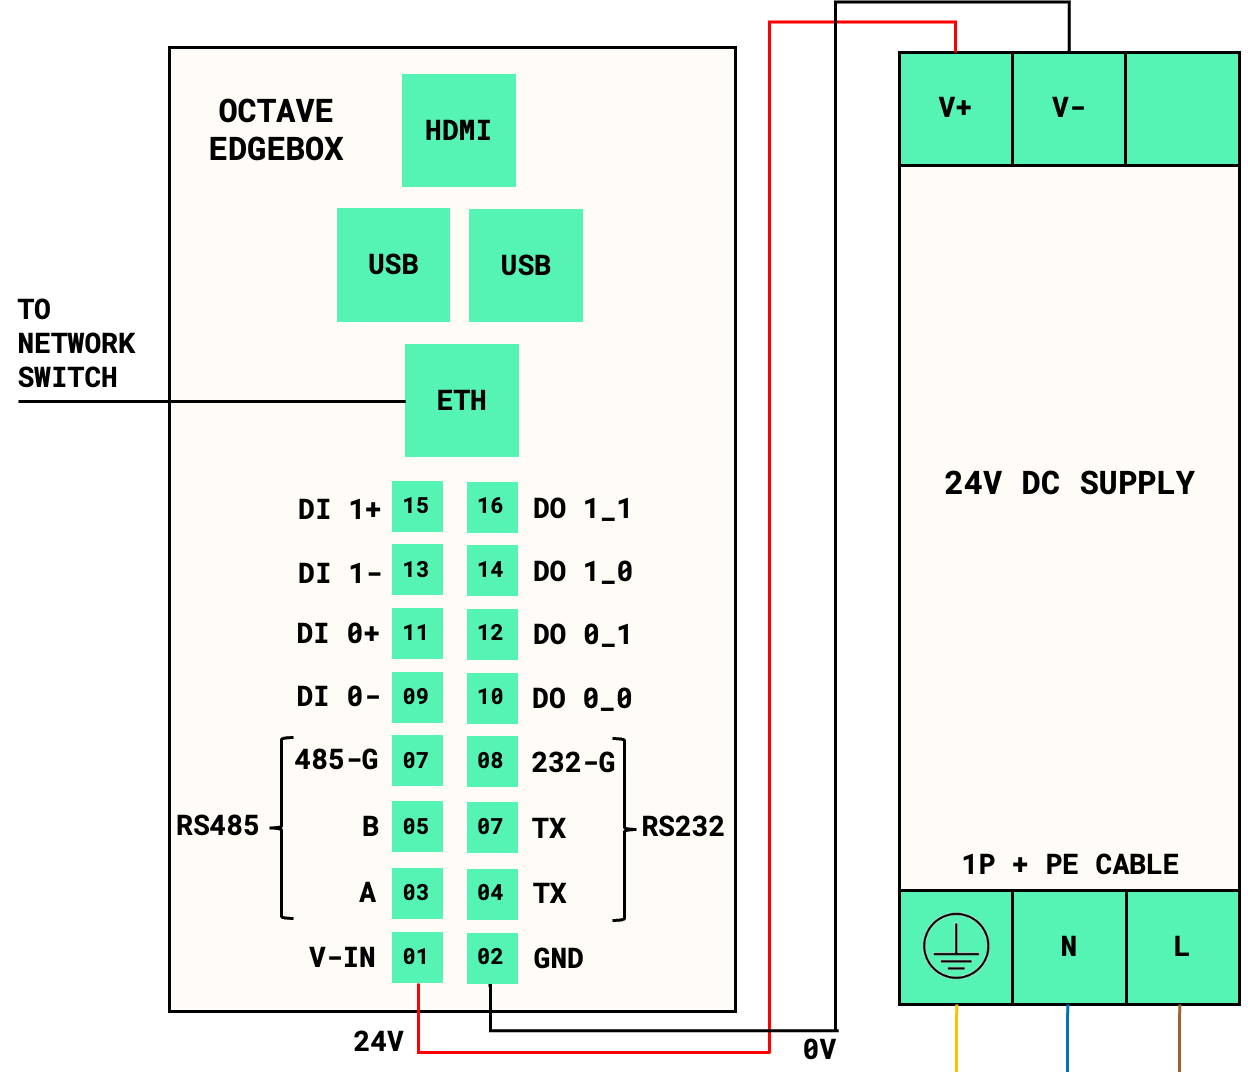
Connection Schematic of the Octave Edgebox
Installation Steps#
To install the EdgeBox on site:
-
Mount the EdgeBox and the 24VDC power supply on a DIN rail.
-
Wire the EdgeBox and the 24VDC power supply
- Connect a 1P+PE 230V cable to the power supply
- Connect the 24V DC cable from the power supply and the EdgeBox, as per the schematic above.
-
Connect the EdgeBox to the external network via an Ethernet cable.
Site Metering#
A power meter is required on the grid connection of the site. The metering granularity must be real-time, not quarter-hourly.
The power meter must have Modbus TCP/IP connectivity.
Configuration of the site meter
The site meter must be configured correctly, and you should verify that it accurately reads the site's power consumption.
Please verify the wiring and configuration of the current sensors.
The preferred sign convention is as follows:
- Positive current and active power when the site is consuming power from the grid (current flows from the grid to the site)
- Negative current and active power when the site is injecting power into the grid (current flows from the site to the grid)
IP address of the site meter
The IP address of the meter must be communicated to Octave after installation.
If the meter uses a different sign convention than listed above, this must also be communicated to Octave.
Network Setup#
The Octave Controller requires access to the following devices on the local network:
- Battery systems (if present on site)
- Solar PV inverters (if present on site)
- EV charging infrastructure (if present on site)
- Site power meter (see section above)
- Internet connection (for outbound connectivity — see firewall configuration below)
The IP address of the Octave Controller is assigned by DHCP by default. If the Octave Controller does not receive an IP address from a DHCP server on startup, it will use an IP in the range 169.254.0.0/16.
When connecting directly to the Octave Controller without DHCP, set your laptop or PC to the same range (169.254.*) and access the device using its hostname: Octave<serialnumber>.local (e.g., Octave123456.local).
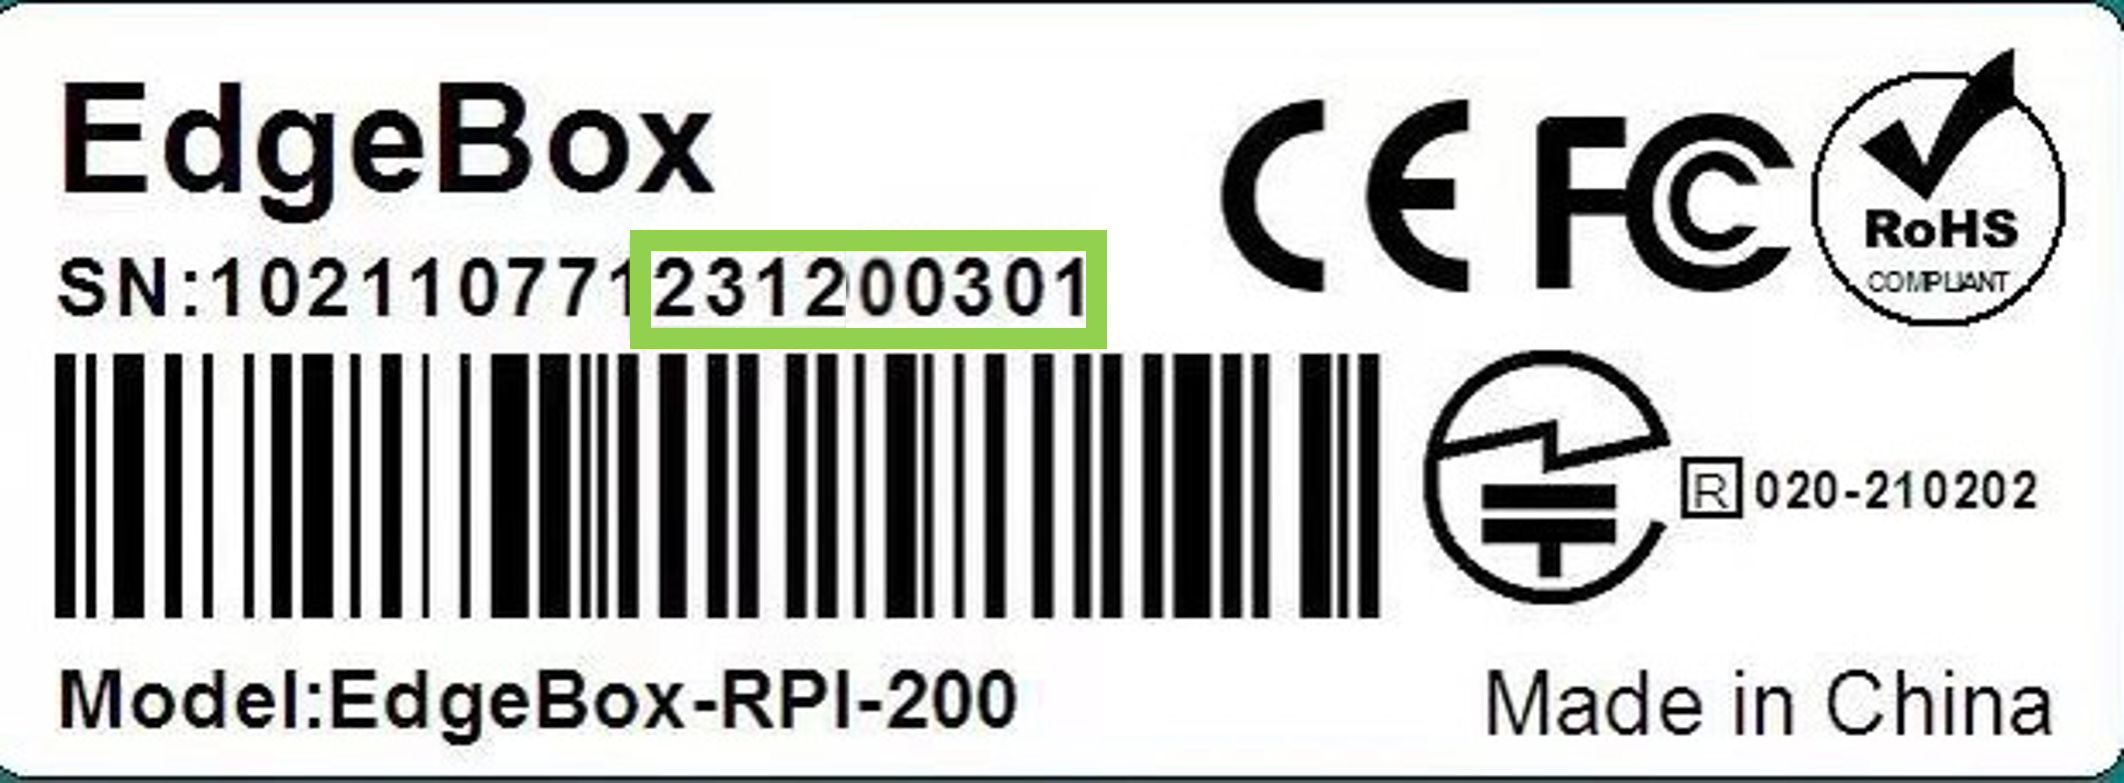
Serial Number#
The serial number is located on the sticker on the Edgebox. Octave uses only the last 9 digits of the original serial number:
Local Web Interface#
To access the local web interface:
-
Connect a computer to the local network via ethernet port A of the Octave Controller.
-
Navigate to either:
- The IP address of the Octave Controller (on HTTP port
80) Octave<serial_number>.local(e.g.,Octave231200301.local)
- The IP address of the Octave Controller (on HTTP port
You will see the login screen:
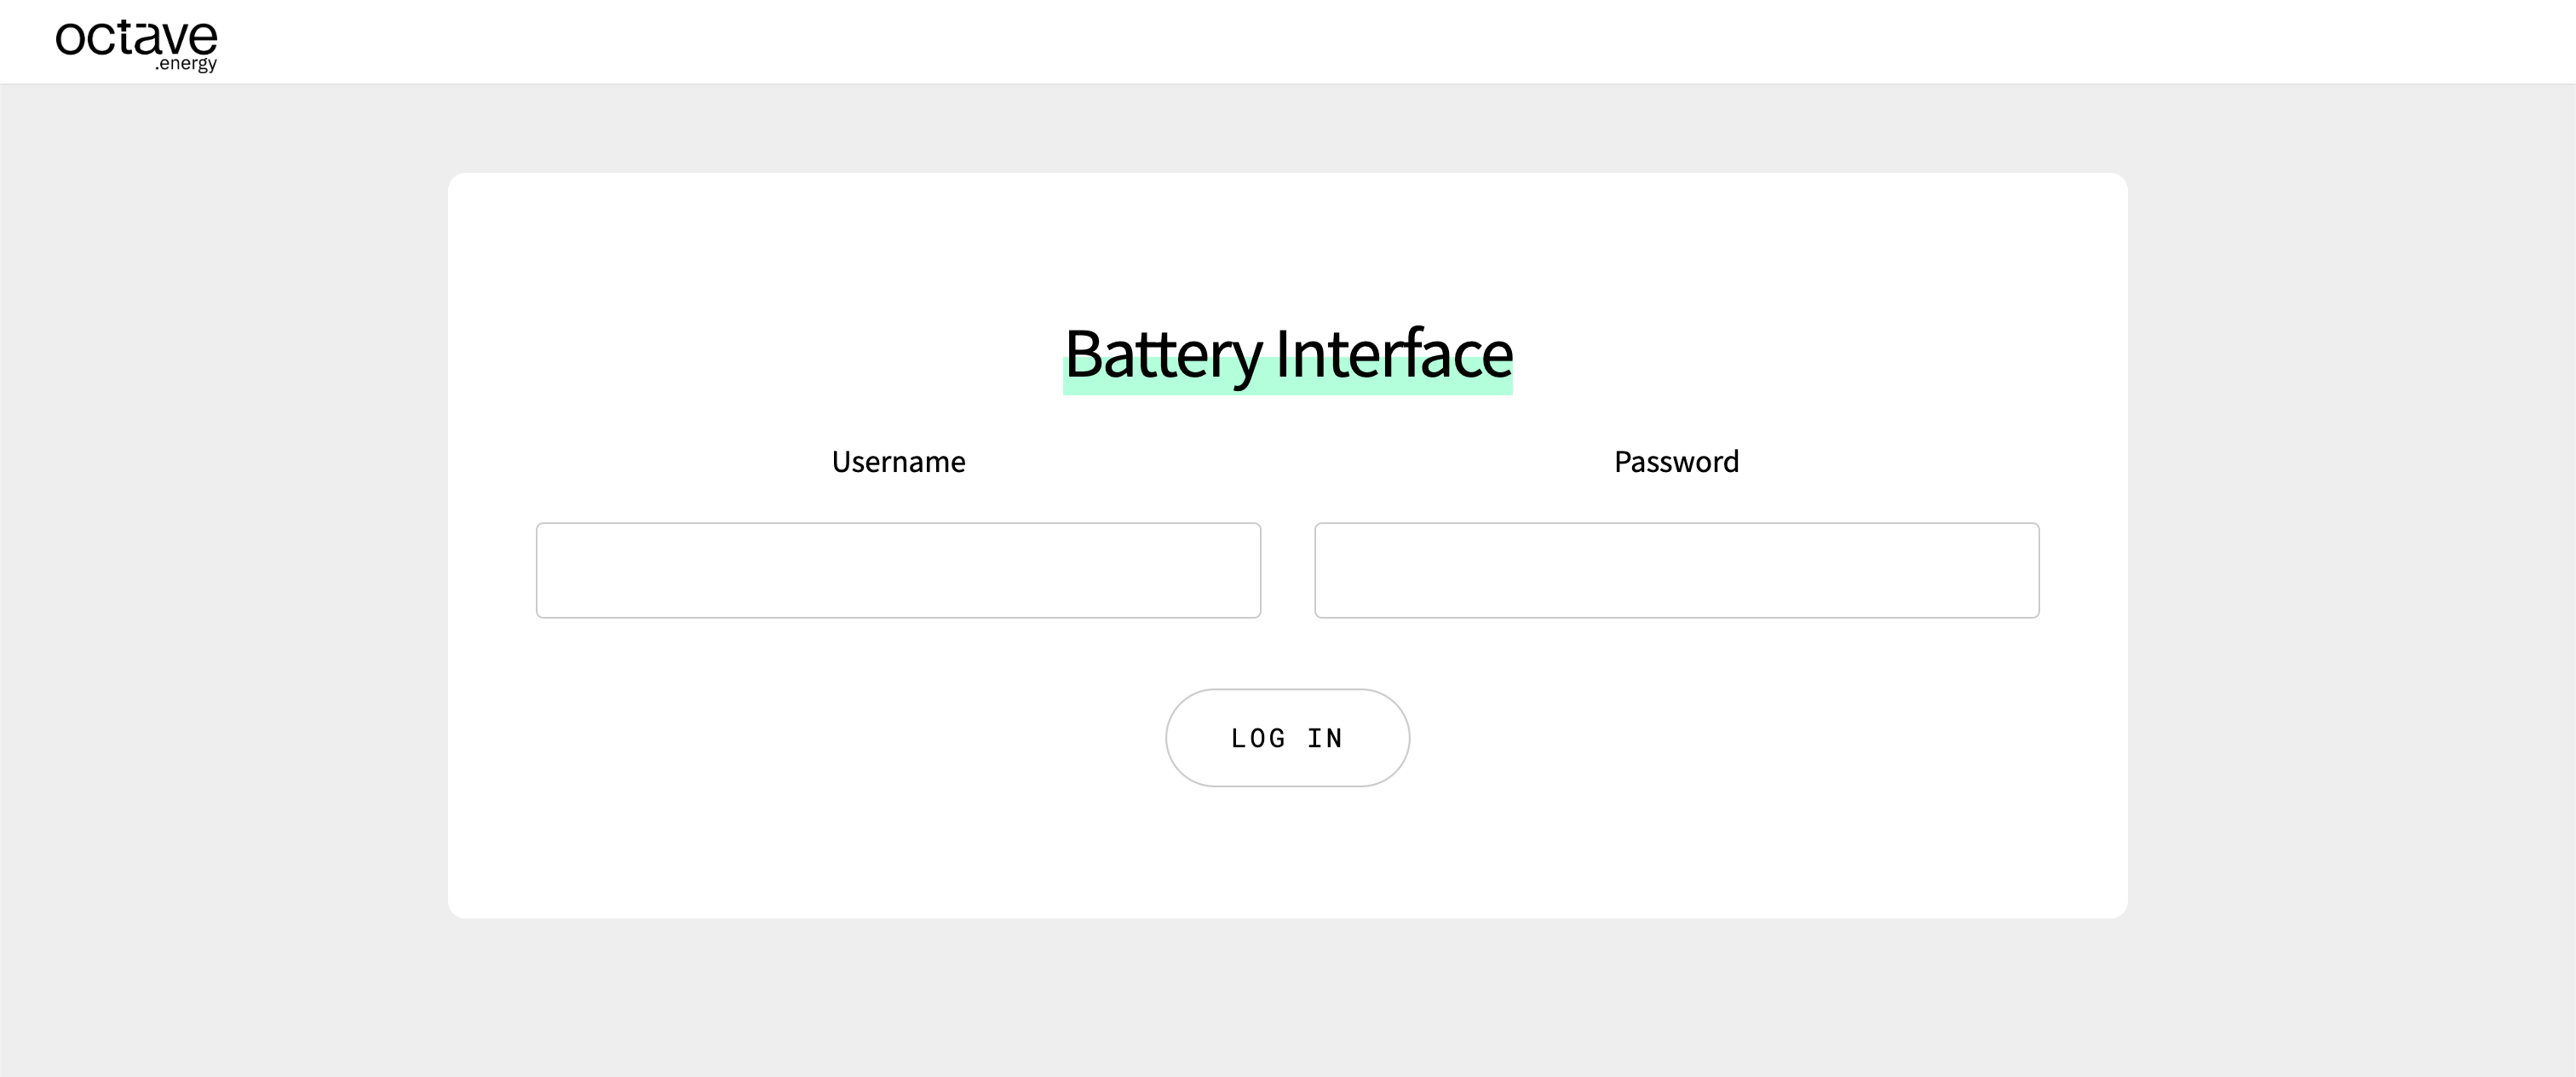
Login credentials:
- Username:
admin - Password:
octave.energy
Previous generation Edgeboxes use only the last 6 digits for their hostname
Older Edgeboxes use only the last 6 digits of the serial number for their hostname (instead of the last 9). In the example above, the hostname would be Octave200301.local.
Network Configuration Screen#
After logging in to the local web interface, the Network Configuration and Network Troubleshooting pages let you set up and check the Edgebox network: DHCP or a static IP address, additional addresses, routes, and connectivity to site devices and the internet.
These pages are described step by step in the Octave network guide:
- Network Configuration — read the current state, change settings, and use Test before Apply.
- Scenario 1 — DHCP and Scenario 2 — Static IP — the most common Edgebox setups.
- Network Troubleshooting — what to do when a device or the internet can't be reached.
Changing the IP address of the Octave Edgebox
After changing the IP address, the connection with the local web interface will be gone. You will need to go to the newly configured IP address in your browser to view the local web interface again.
Required Firewall Access#
For remote monitoring, optimal control, and software updates, the EdgeBox requires an outbound internet connection.
To enable this, the local firewall must allow the Octave controller to establish outbound connections on the following ports:
| Port | Protocol / Use | Direction |
|---|---|---|
| 22 | SSH | Outbound |
| 80 | HTTP | Outbound |
| 443 | HTTPS / MQTT | Outbound |
| 8883 | MQTT | Outbound |
| 123 (UDP) | NTP (time synchronization) | Outbound |
The full list of endpoints the Octave controller needs to be able to reach for the EMS to function correctly are available at this page: Required Endpoints for the Octave EMS
If the Edgebox has no internet connection, follow No cloud / internet connection in the network guide.
EMS Configuration#
Once the installation and configuration are complete, please fill in the onboarding passport available at the following link:
The onboarding passport allows Octave to collect all the information required to configure the EMS, verify communication with the connected assets, and start controlling the flexible assets.
Once the form has been submitted with the required information, Octave will finalize the EMS configuration and confirm when the system is up and running.
Ensure assets are reachable via Modbus TCP/IP
To enable the EdgeBox to manage the flexible assets on-site, both Modbus TCP/IP communication and remote active power control must be activated.
This configuration is typically performed through the local web interface of the asset (e.g., solar PV inverter or EV charging station). If the client provides the credentials for these local web interfaces, Octave can handle this setup on their behalf.