Xemex Smart Connect#
This guide explains how to install and configure the A1 Smart Connect (A1/P1) on a Fluvius meter, and how to confirm the device is working.
The Xemex Smart Connect P1/A1 is a compact module that converts Dutch and Belgian Smart Meter P1/A1 messages into Modbus TCP or MQTT. It supports DSMR 4.2+ in the Netherlands and the EMUCS standard in Belgium. The Smart Connect also features a P1/A1 output port to replicate the original message, allowing other P1/A1 devices to remain functional.
It connects to the Smart Meter via an RJ12-to-RJ12 cable and is typically powered through the meter's P1/A1 port. In specific cases where this is insufficient (see Power input), an external USB-C power supply can be used.
What you need#
- A1 Smart Connect device
- Supplied RJ12-to-RJ12 cable (straight-wired)
- Ethernet (UTP) cable
- A laptop on the same network (for IP scan + web browser access)
1. Physical installation#
Network cables
-
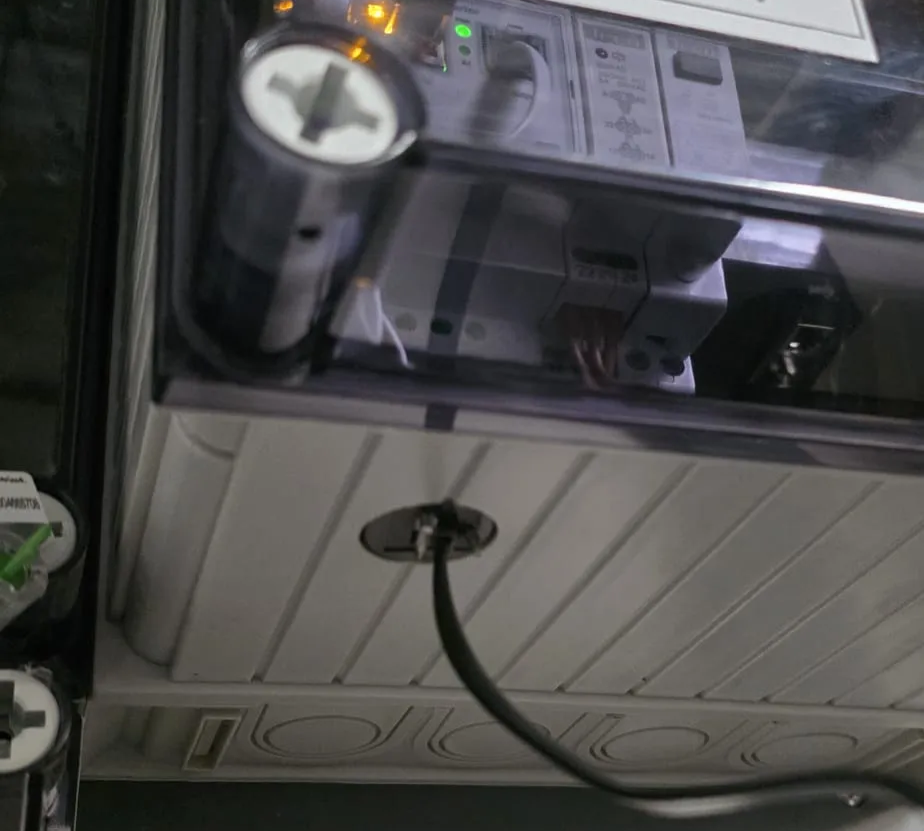
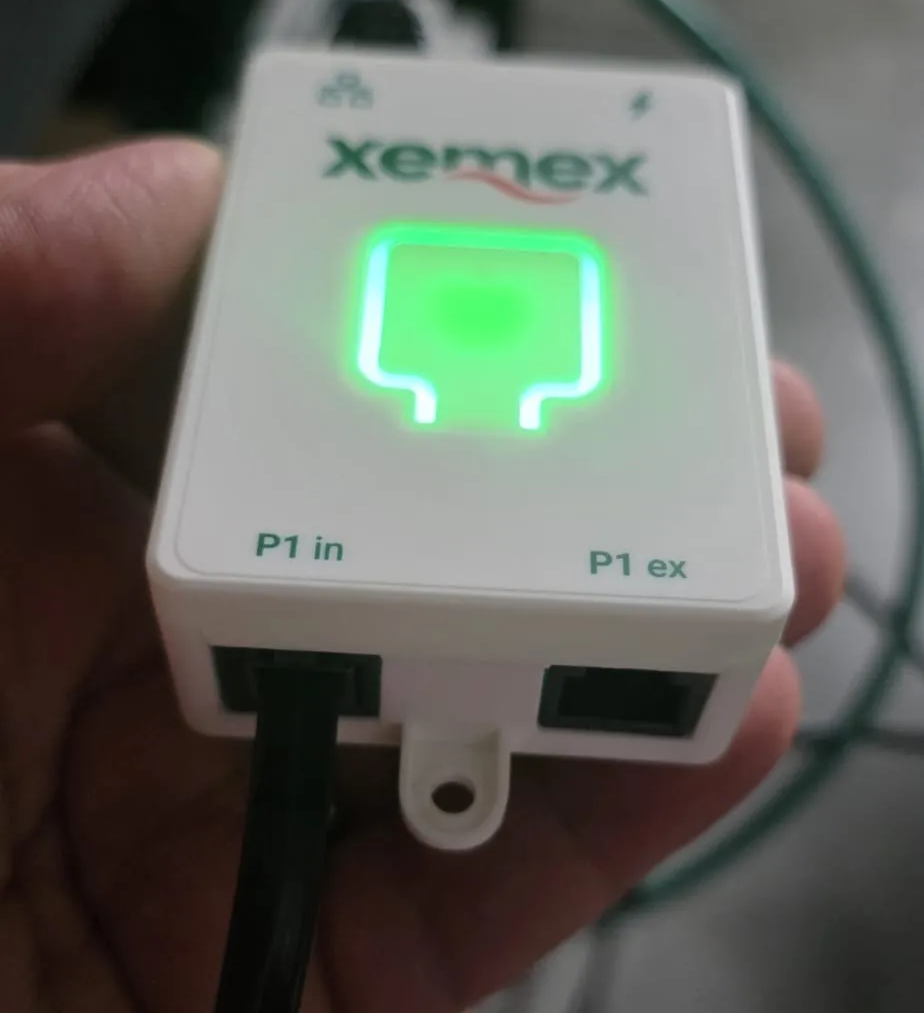
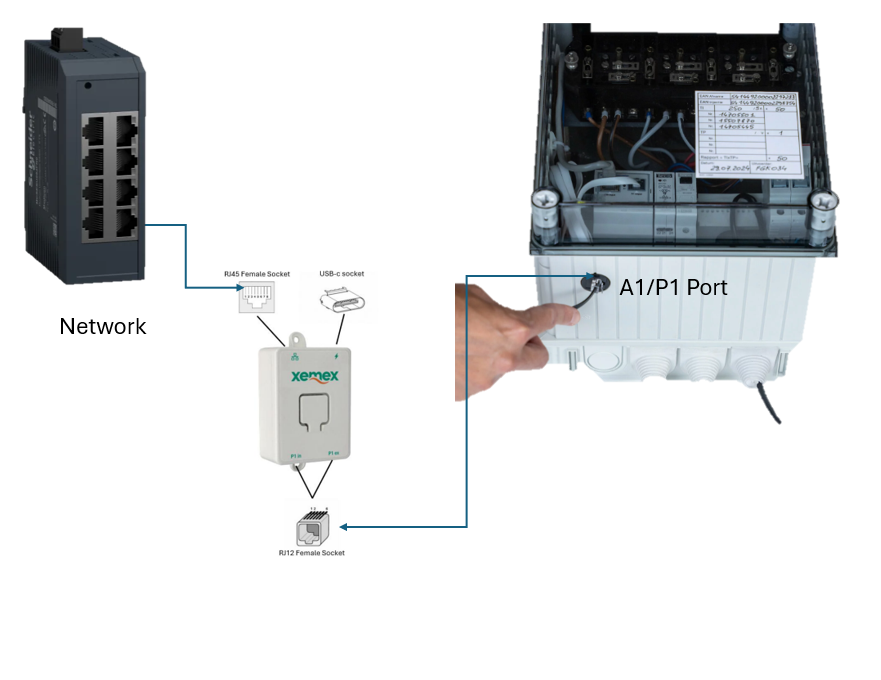
Connect the A1 Smart Connect to the Fluvius meter using the supplied RJ12 cable.
- Connect it to the A1/P1 in port of the Xemex module.
-
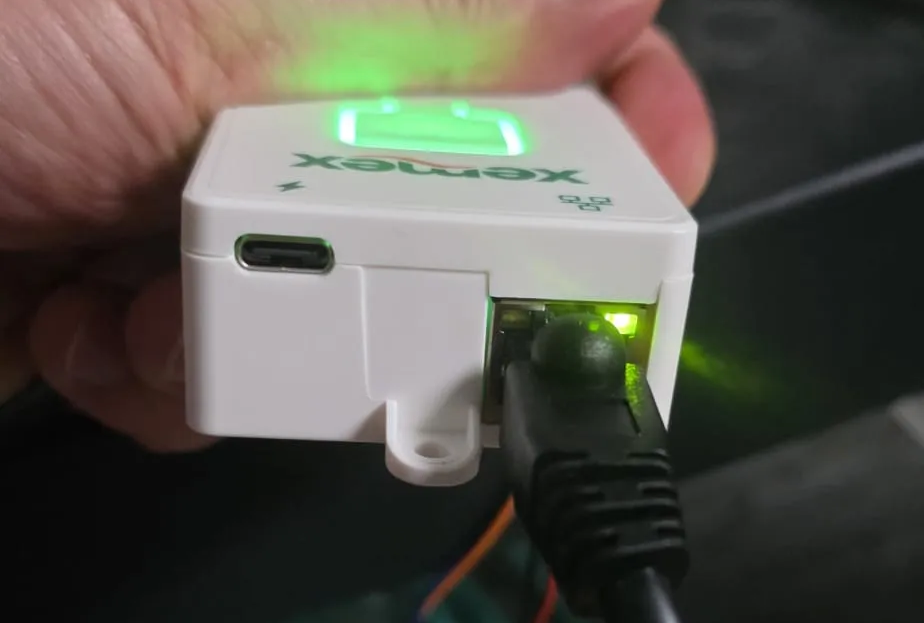
Connect the A1 Smart Connect to your local network using a standard Ethernet (UTP) cable.
- Plug the Ethernet cable into a network switch or router that is on the same network as the Octave Edgebox.
Power input
This port provides power to the device. It is mandatory to connect a USB-C power supply when using the P1/A1-OUT function (the case in most installations), with a DSMR 4.2 meter, or with TIC input. Only a P1/A1 input from an SMR 5.x meter, without P1/A1-OUT, can run on the meter's power alone. Always use certified USB-C power supplies and cables to ensure safe and reliable operation.
The table below describes when an external USB-C power supply should be used.
| Usage | No | Yes |
|---|---|---|
| P1/A1 IN (SMR 5.x) | ✓ | |
| P1/A1 IN (DSMR 4.2) | ✓ | |
| P1/A1 OUT | ✓ | |
| TIC IN | ✓ |
2. Find the device IP address or Hostname#
You can access the web interface using either the device's IP address or hostname.
Option 1: Using the IP address
- Run an IP scan on your local network from your laptop.
- Identify the device in the scan results.
If you cannot find the IP address:
- Press and hold the reset button for 10 seconds.
- The device will revert to its factory IP range: 169.254.x.x.
Option 2: Using the hostname
- Scan the network to identify all hostnames. The Xemex should have a hostname following this pattern:
smart-connect-xmxkaac00000xxxx.local - Alternatively, enter the dummy hostname in a browser:
http://smart-connectorhttp://smart-connect.local. This will load a page showing the actual hostname of the Xemex Smart Connect dongle, e.g.,smart-connect-xmxkaac00000xxxx.local
3. Open the web interface#
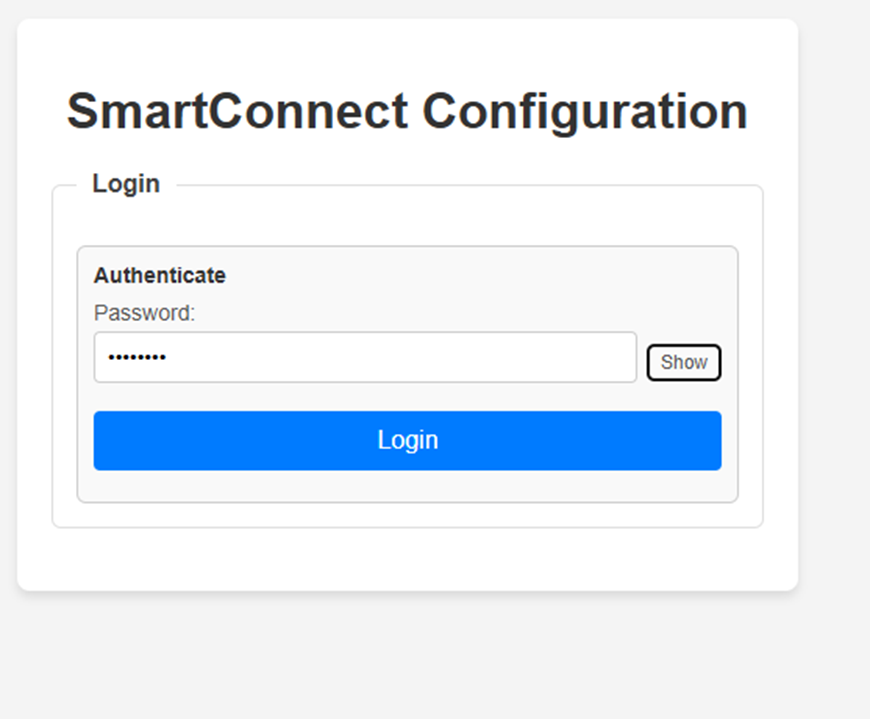
- Open a browser and navigate to the device IP address or Hostname
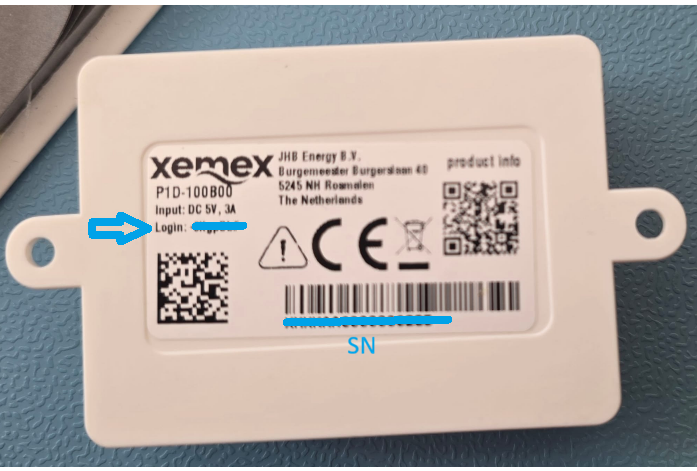
- Log in using the unique password printed on the device.
4. Configure network settings#
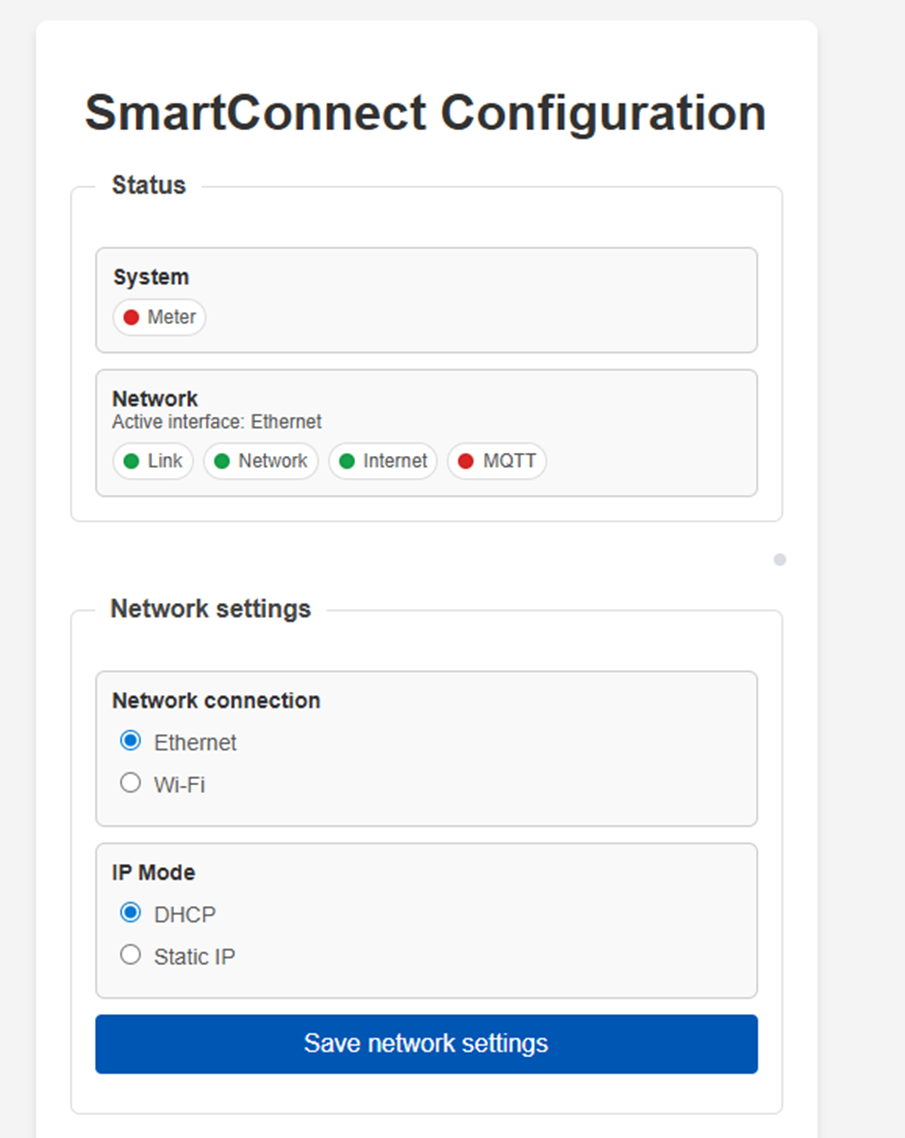
Recommendation: Use DHCP setting whenever possible.
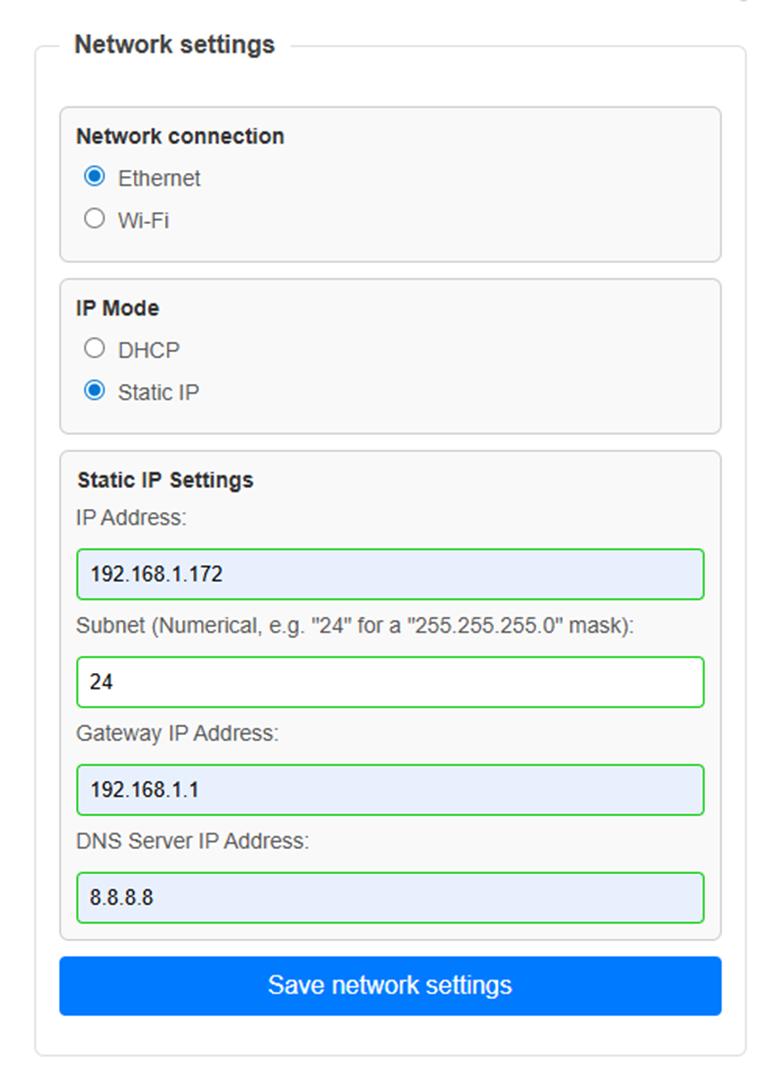
If the network rules do not allow DHCP configuration, use the following steps to configure a static IP for the smart dongle:
- In the web interface, open Network settings.
- Select the network type: Ethernet
- Configure IP mode: Static IP or DHCP based
- Click Save network settings.
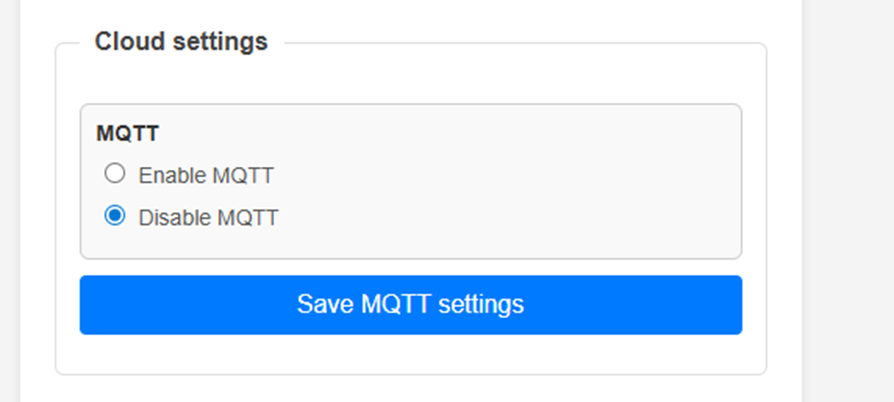
5. Disable MQTT#
- In the web interface, locate the MQTT settings.
- Disable MQTT.
- Save the setting.
6. Reboot and verify operation#
-
Reboot the device.
-
Re-open the web interface and confirm:
- Network settings are saved.
- Meter connection status is OK.
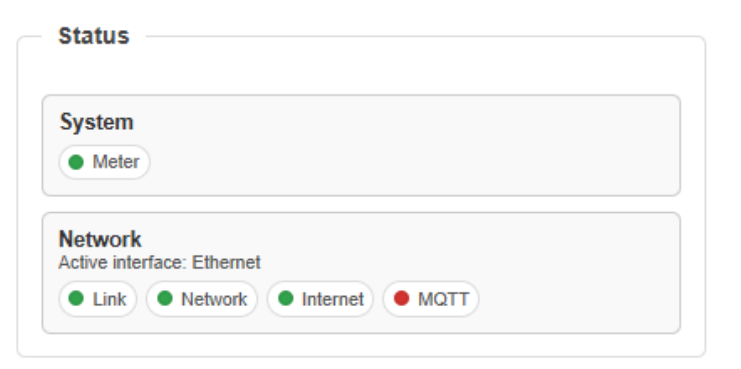
If everything is set up correctly, the Smart Connect should show a continuous green LED.
| State | Color | Pattern | Description |
|---|---|---|---|
| Off | - | - | Module not powered |
| Power-up | Red | Continuous | Module booting |
| Normal Operation | Green | Continuous | Smart Connect receives P1/A1/TIC data; network is connected and configured. Providing Modbus TCP or MQTT data. |
| AP mode | Blue | Blinking | Module in AP mode |
7. Attention Points#
The complete installation guide for the Xemex Smart Connect is available here: www.xemex.eu
Share these details with Octave after installation:
- Xemex IP address
- Smart Connect UI login credentials
-
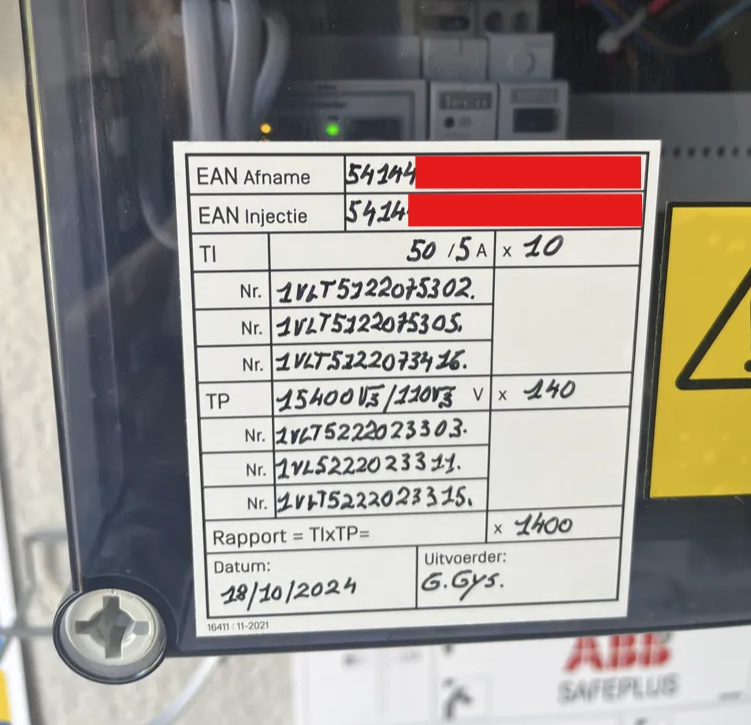
Fluvius meter transformation factors (current and voltage)
Extra photos#